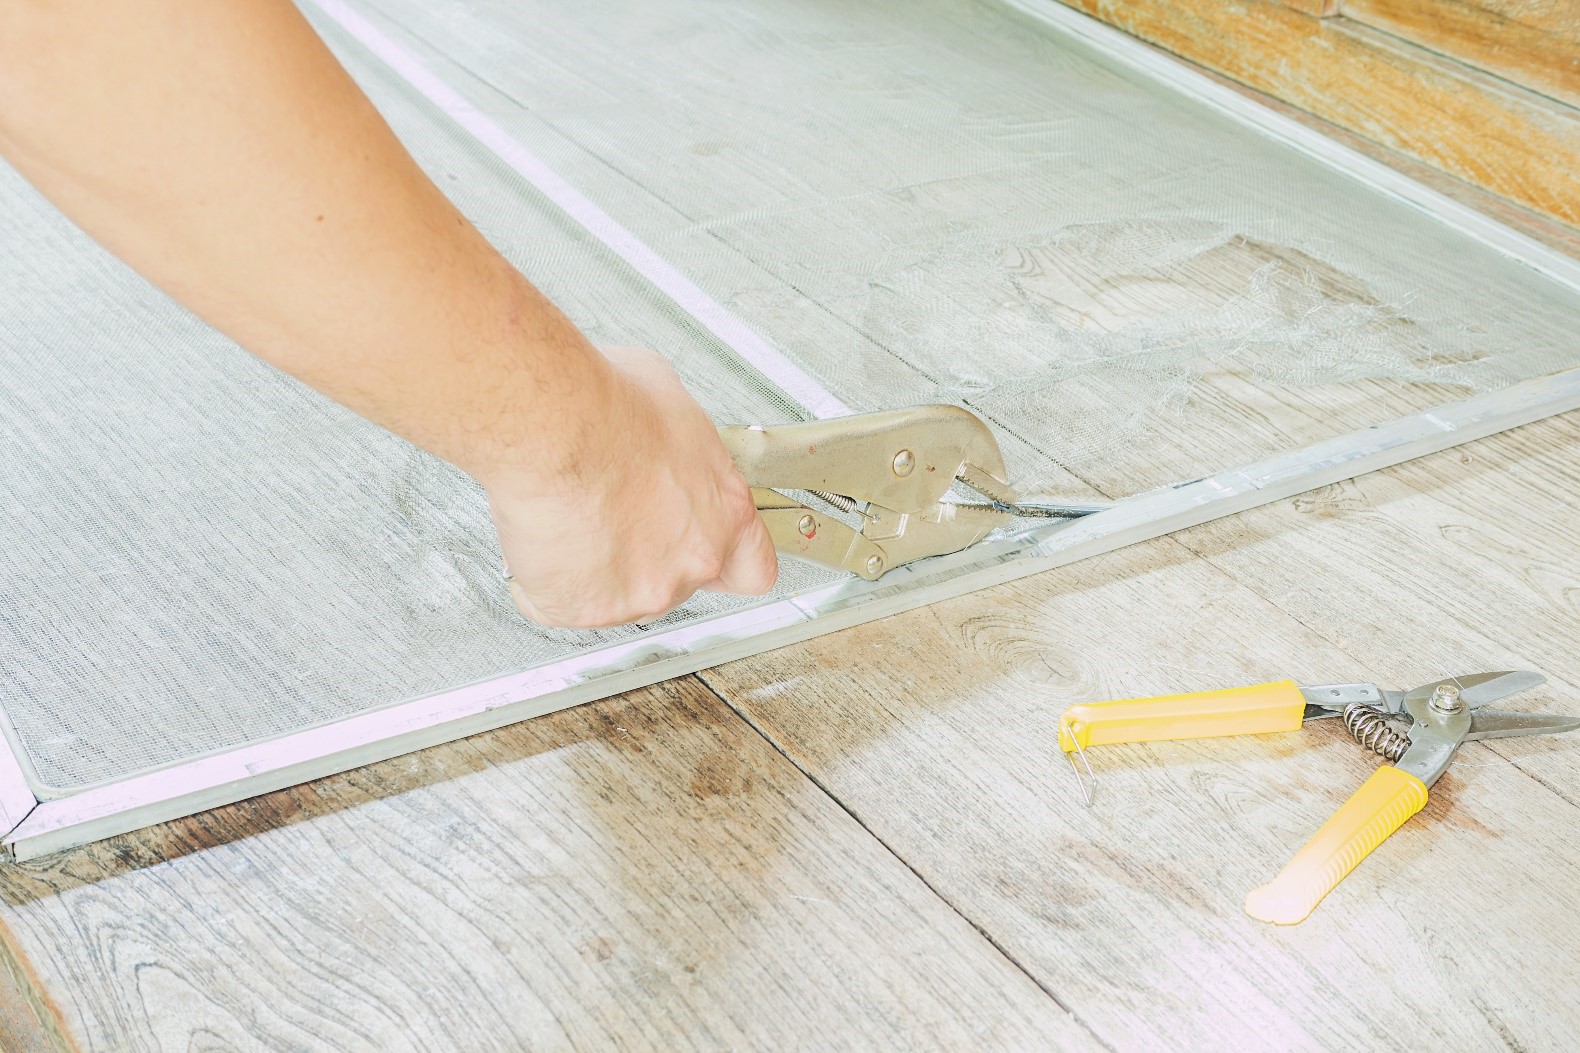
As most homeowners know, having window screens installed during the spring and summer months is essential to enjoy the fresh air while not letting all the bees and flies in the home. However, over time, the screens will begin to wear out. For many homeowners fixing a screen may seem like a task for the professionals, however, if you follow these steps, you will be able to repair the screens on your own.
While you can patch the holes on the screen, it is more aesthetically pleasing just to replace the mesh.
Here’s what you need to replace the screen:
The first thing you will need to do is make sure you have all the correct tools which are: flathead screwdriver, screen utility knife, spline, spline rolling tool, and scissors.
Once you have the tools on hand just follow these steps:
- The first step is to remove the screen from the window frame and set it on a flat surface with the side with the grooves facing up and secure it down with a clamp or tape.
- Use the screwdriver to pry up the spline that keeps the cord in place.
- Cut a piece of mesh an inch larger on all sides of the frame.
- Align the cut piece with the grooves. Then you need to use the convex end of the spline tool to push the screen into the channels.
- Now you will want to use the concave side of the spline tool to push the screen spline into the channels gently. You must roll it on each corner to make sure it is correctly locked in place.
- Using the screwdriver, push down the spline on all four concerts.
- Use the utility knife to remove the extra mesh.
DIY window screen replacement takes little extra work but will save you money in the long run.


