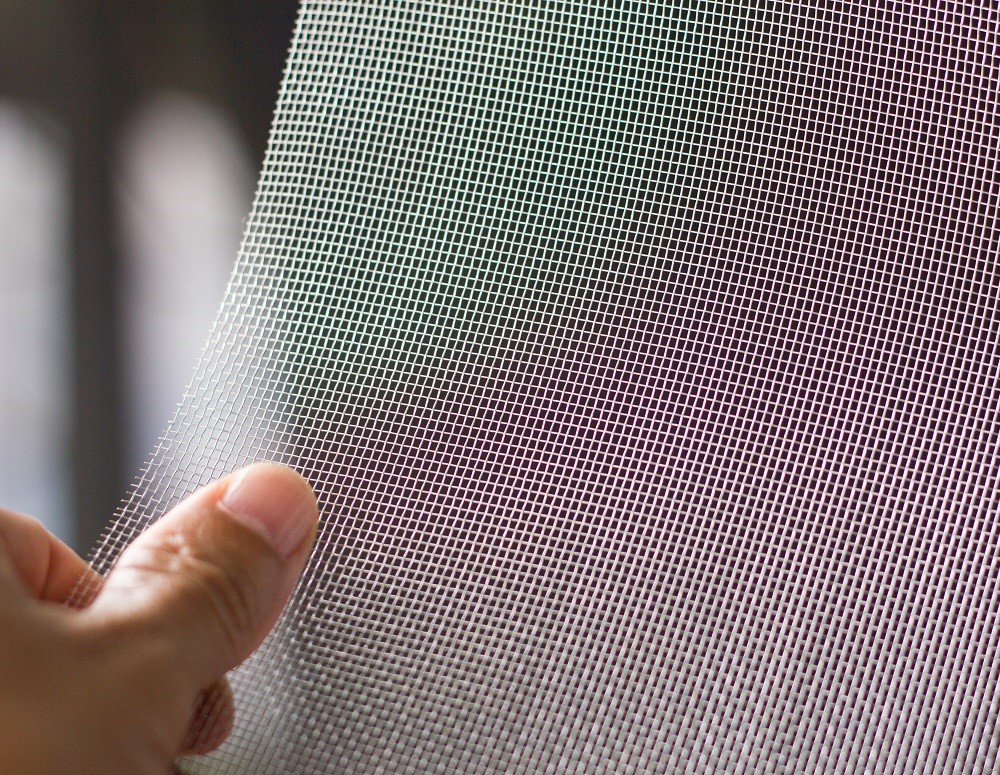
To put it in simplest terms, a screen door spline is a material that is composed of cording made from vinyl. The use of this material is for putting screen material solidly into its frame by rolling it into a groove. This is accomplished through a process that utilizes a roller. To get the right fit, it is essential to follow these 4 steps. This will ensure a good fit for your screen and the assurance that it will remain in place.
1. Removal of the Damaged Screen Material
To replace a screen, the old one must first be removed and discarded. The door frame should be removed and then laid out on a flat surface area. From there, the spline should be located and removed. The old spline can be discarded as well. At this point, it is time to replace the screen.
2. Take Measurements and Cut the New Screen
Step two is to measure the replacement screen and then cut it out. It is important to remember to leave some extra screen material around all the sides to assist with applying the screen door spline.
3. Use the Screen Door Spline to Secure the New Screen
At this point, the new spline will be utilized to put the replacement screen into place. Using the spline installation tool comes in with this step as it makes it easier to work the material around the screen. The new spline must be cut to fit the frame while leaving a few extra inches. It can then be aligned around the frame’s groove and rolled in with the spline tool.
4. Trim Off the Excess Screen Material
The final step is to use a utility blade to remove extra screen material that is sticking out from the newly replaced spline. Give us a call at 1-800-229-3181 and we will be happy to find the perfect screen spline for your application!


